Look Good! Feel Great

Protected by Copyscape Online Plagiarism Detection

Friday, 3 February 2017

QUICK BEAUTY FIXES- I 

Moisturiser for Very Dry Skin


The skin can often feel leathery and parched and requires nourishment and hydration. Make this wonderful natural moisturiser and be free of all dryness issues. This super skin food promises to make your skin soft in minutes.

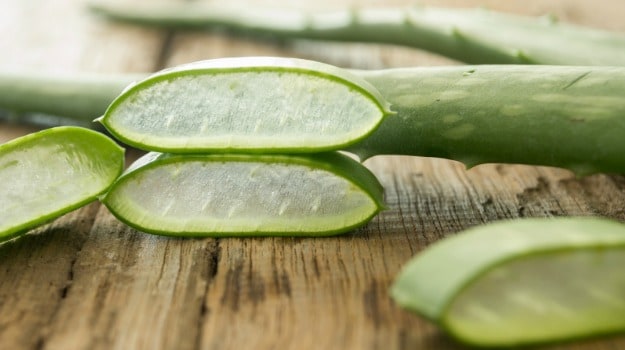
aloe-vera-moisture-face-pack
3 tsp aloe vera gel
3 tsp rice bran oil
1 tsp ghee
2 tsp rose water

Method: Whip all the ingredients well together and massage a small quantity of it well into the skin.


Burning of Hands and Feet


Many of us experience a burning sensation in our hands and feet, especially with the change of weather. If you are one of those who suffer from this issue, here's a simple natural way to ease your suffering in minutes -


2 tsp rose petal paste
1 tsp sandalwood powder
hands-feet-mask-sandalwood1 tsp aloe vera gel

Method: Mix all these ingredients and apply on the red irritable areas for 5-7minutes and wash off and pat dry.


Fairness Mask


Fairness and skin whitening is ever so much in demand, however, I personally feel that the quality of skin is more important than the colour. But, if you are one of those who crave for a fairer skin then this mask will definitely help you -


fairness-packHalf a potato, grated
The juice of half a lemon

1 tsp cucumber, grated

1 tsp neem paste

1 tsp rose petal paste

2 tsp sandalwood powder
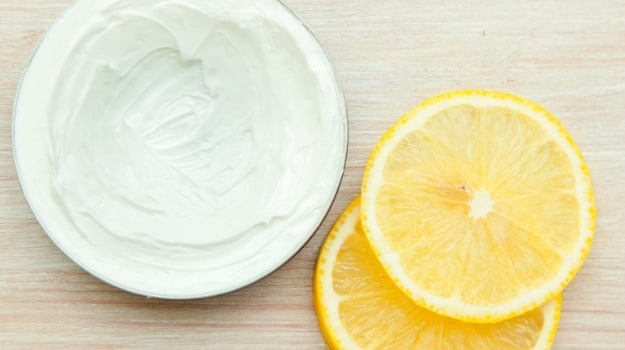
Method: Mix the ingredients well together and apply onto the skin for about
10minutes. Wash off with water. You can very safely use this on alternate days.


Bleeding Gums


Bleeding gums can be painful and embarrassing. Follow this simple recipe and get quick relief -

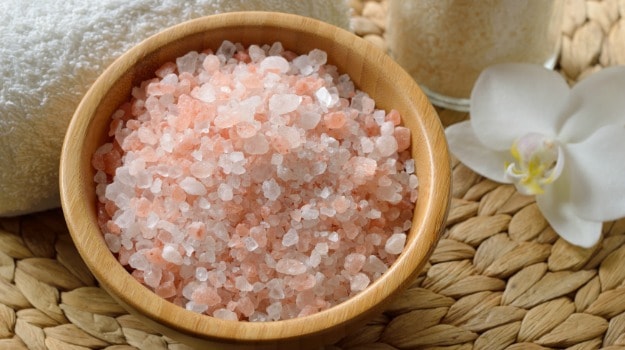
1 tsp rock salt

rock salt bowl
1 tsp neem powder
I tsp Triphala powder


Method: Mix well and use a pinch at a time to massage the gums. Rinse with water.


Dead Skin Accumulation


If you have skin anywhere in the body that looks lifeless then this five-minute recipe will heal and clear your skin -


3 Tbsp gram flour
2 tsp sesame oil
2 tsp lemon peel powder

The juice of half a lemon

Milk to make a smooth paste


Method: Mix well and apply to the skin, scrubbing gently in a rotating manner. Wash off with water.


10. Nail ridges


Many a times you cannot apply nail polish due to the unevenness in your nails, which are known as ridges. To smoothen these out, use the following -


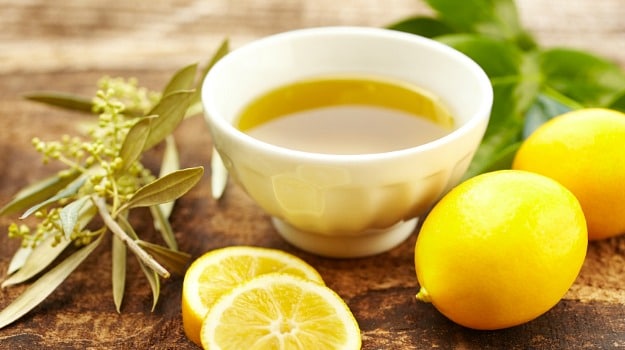
2 lemon halves
1 tsp olive oil

olive-oil-lemonA rough hand towel

Method: Dip the lemon halves into the oil and rub on the nails, massaging gently while doing so. Now take the towel and rub your nails vigorously. This should be done 2-3 minutes daily for a week.  It will even out the nails and make them shiny and smooth.


Thursday, 2 February 2017


Homemade Anti Wrinkle Cream

antiwrinklecream
Looking for a homemade anti wrinkle cream?  This homemade anti wrinkle cream is easy to make and inexpensive.  Now that I am in my 30’s I am thinking about wrinkles.  I don’t have that many, but they emerge from time to time, especially around my eyes.  I know I need to nourish my skin more.  What to buy?  Lately I have no clue, even organic skincare can have ingredients that are sketchy and hard to pronounce (bad sign).  My search began for a homemade anti wrinkle cream.  I started researching and experimenting.  The first thing I had to order was beeswax, everything else I could buy at my local health food store.  And then, finally….

My beeswax arrived!

I have been waiting for 2 weeks for this important part of the recipe.
The secret ingredient in this homemade anti wrinkle cream? Rosehip seed oil.
Rosehip seed oil is the best oil available for anti-aging and cellular regeneration.
“The essential fatty acids in rosehip seed oil give it moisturising properties and the antioxidants and beta-carotene may help to prevent signs of ageing. It may also promote wound healing by stimulating tissue regeneration. The vitamin A is said to help combat wrinkles, sun damage and uneven skin tone. Rosehip seed oil does not need to be diluted in a carrier oil and is said to be safe for sensitive skins.”  Source
“Through testing, rosehip seed oil has been shown to regenerate the skin, reduce scars and wrinkles, prevent the advancement of wrinkles and aging, and help skin to regain its natural color and tone.  Rosehip seed oil contains Vitamin A, which helps to delay the effects of skin aging, assists with cell regeneration, and promotes collagen and elastin levels to increase.  This results in firmer, smoother, and more youthful skin with greater elasticity.  Rosehip seed oil has been used successfully to treat the following skin problems: stretch marks, UV damage, scars from surgery, burns, and acne, eczema, psoriasis, premature skin aging, hyper-pigmentation, dermatitis, burns, including those from radiation and sunburns, and age spots.”  

Anti Wrinkle Cream
  • 2 tsp jojoba oil
  • 1 tsp coconut oil
  • 3 tsp apricot kernel oil
  • 3 tsp Rosehip seed oil
  • 1.5 tsp beeswax pastilles
  • 6-10 tsp rose-water

Place beeswax, jojoba, coconut, rosehip and essential oils (basically everything besides the rose water!) in a double boiler or right in a stainless steel pan (keep your pans separate).  
Heat on low very gently to melt wax about 5-8 minutes.
Stir well.

After you you remove the ingredients from the stove (I let mine cool for a few minutes because it can be really hot.)

Place in blender (be careful bc this can be very tough to clean out after).

Add in the rose water a little bit at a time (through the top of the blender).
Pulse the blender a few times and you will have a nice fluffy cream.  
Remember the cleanup can be MESSY! Still worth it though.


My suggestion is to double or triple the batch (if you are doing the cream version)… place in refrigerator until ready to use.

Addition: If you have super oily skin, I would also double the rose water amount.  I have yet to try this (very soon and will update), but a reader suggested this and it makes perfect sense.  It will be lighter w/ more rose water.
If you are just looking for a Rosehip Serum, and do not have time to make the  cream…. I have found this organic one  and I LOVE it for when I am in a hurry and don’t have time to make a new batch for awhile:

Source : http://greenbootliving.com/2012/04/20/homemade-anti-wrinkle-cream/

Wednesday, 1 February 2017


Home made oil treatment for hair
Image result for gorgeous hair & growthWhen hair has been abused by too many chemical treatments such as perms, tints, colorings, straightening, daily abuse, or being exposed to a harsh climate it can do with an oil treatment boost to get it into shape, help with split ends and get rid of that dry grass feel and look.
This treatment is more than just a bit messy, but normally can do wonders for abused hair that needs a bit of life, luster and shine and to leave it silky smooth.
The oil treatment uses the following ingredients:
    10 ml Almond oil
5 ml Evening primrose oil
  10 ml Coconut Oil
5 ml Jojoba oil
5 drops Rosemary oil
5 drops Chamomile Roman oil

Using a bain-marie, melt the coconut oil over very low heat (since it is semi-solid at room temperature) and add the almond, evening primrose and jojoba oil. Mix well and let the mixture cool down and then add the essential oils.
Using your fingertips, dip into the oil mixture and gently massage it into your scalp and through the hair. When the entire head has been treated push your hair together and loosely cover it with kitchen plastic wrap (or a clean plastic bag) to protect the towel that you will place over it.
Cover your head with a towel - turban style and leave it on for about 30 minutes. The heat from your scalp will help with the absorption and penetration of the oil, and the towel turban will keep the heat in.
If your hair is in really bad shape, you can use a hot towel for the turban, as it will further help to absorb the oil.
After 30 minutes, before putting any water on your hair, take your shampoo and massage a fair amount into your hair and scalp - this emulsifying action will help remove the excess oil.
Although this is really a messy treatment, it has helped countless people to get their quality of hair back to normal.


Shampoo to use with alopecia
Since everybody has their own favorite shampoo, we do not have a special shampoo recipe, but do suggest that you add the following essential oils to your regular shampoo. It is however suggested that you use a mild natural shampoo.
The dilution that you should use is as follows, and please do not add more essential oil than specified, as it may cause irritation.
·         100 ml shampoo mixed with
·         15 drops jojoba oil
·         8 drops carrot oil
·         7 drops rosemary oil
·         7 drops lavender oil
·         2 drops tea tree oil
You can use this shampoo as your regular shampoo.


Stimulating massage lotion to help hair loss
This stimulating lotion can be massaged into the scalp in the morning, after washing and partly drying the hair. Massage with care so as not to stretch or break the hair while massaging.
·         100 ml mix (50/50 of rosewater and distilled water)
·         15 ml apple cider vinegar
·         5 drops rosemary oil
·         6 drops jojoba oil
·         3 drops carrot oil
·         3 drops geranium oil
This mixture should be kept in the fridge and will separate when standing, necessitating you to give it a good shake every morning before applying about 2 teaspoons of the mixture.


Hair conditioner for use when balding
For a once-a-week conditioning treatment, you can apply the following oil blend and leave on for at least 30 minutes before washing it off. When washing it off, apply some shampoo to the hair before you wet it, to help remove the oil easily.
·         2 ml jojoba oil (40 drops)
·         8 drops evening primrose oil
·         2 drops geranium oil
·         2 drops palma rosa

Oil treatment for alopecia and hair loss
This oil blend must be gently (repeat gently) rubbed onto the scalp once a day at night before going to bed. Pay special attention to the bald spots but work through your entire scalp.
·         3 drops rosemary oil
·         4 drops geranium oil
·         4 drops lavender oil
·         1 drop frankincense oil
·         4 drops cypress oil
·         2 drops cinnamon oil
·         2 drops juniper oil
Take one drop (1 drop only) per day and massage into the scalp before going to bed. The best way to do it is to dispense one drop onto your finger, then rub all your fingertips together to distribute the oil, and then massage the scalp with your fingertips. This treatment must be applied every day, without a single day being skipped.
This is one of the few times where we will use neat (undiluted) pure essential oil on the skin, and you are advised to be on the lookout for any skin irritation. Should that occur immediately cease with the treatment.
Since essential oils can irritate the mucus membranes you are strongly advised to thoroughly wash your hands after applying this treatment, as to prevent accidental transference of the neat oil into your eyes or other sensitive areas.

Final hair wash rinse
Although the popularity of a final rinse after washing your hair has declined, it can help to add that extra bit of shine and manageability.
There are a variety of commercial products available, yet some true and tested home-based recipes still are valuable.
You could simply add a dash of apple cider vinegar or a couple of drops of pure lemon oil to your final rinse, or you could prepare the following and add it to your final rinse.
Mix the following together very well and add to your final hair rinse:
·         4 teaspoons of water,
·         2 teaspoons of apple cider vinegar
·         3 drops of lemon essential oil.
Add this to your final water rinse and make sure that you rinse your hair well with it.